A robot vacuum and mop is a maintenance tool, not a maid. It keeps your floors at about 80 percent so you only handle the last 20, and the hour you spend on setup decides whether that happens every day or whether the thing ends up in a closet next to a dead robot you bought in 2022.
I clean houses for a living. Nine years, a five person team, more than 40 homes a week, and I have watched every floor plan you can imagine try to break a robot: 4,000 square foot houses with three rug transitions, 600 square foot apartments with two cats, kitchens where the charging cords live on the floor because nobody owns a cable clip. The pattern never changes. The people who love their robot vacuum and mop set it up around the house they actually live in, not the house in the marketing video.
This guide is the setup order I use on job sites, plus the two units I would put on that list today: a mapping combo that keeps the dock footprint out of the equation, and a self-emptying unit that removes the daily bin chore entirely.
Why you should trust me
I have run robot vacuums in client homes since 2017, from a 600 square foot studio with two cats to a 4,000 square foot house with four rug transitions and a cord problem in every room. I keep a drawer of units that looked promising on paper and failed on a job site, and I test every robot for a full month across real homes before it goes into a client's house unsupervised.
I do not care about the app tour. Show me the dustbin after a week and I will tell you what the robot is worth. My team's workflow runs on scheduled daily passes, and every recommendation I make has to survive a house with a shedding dog, a kid, and a hallway that eats robots.
How I picked and what I check
Both units here are LiDAR mapping combos in the same 6000Pa suction class, which makes them a fair comparison. What separates them is the dock and what it costs you in attention.
I run four checks on any robot before it earns a spot in a client's rotation:
The mess index. What is left in the bin after a scheduled run. Real dust, real hair, real grit means the robot is working. Fluff and three crumbs means the route is wrong or the schedule is wrong.
The rug lip. The thickest rug in the house, watched from six feet away. A robot that stalls on a half inch transition or drags the rug into a pile gets sent home. This is the number one reason people give up, and it has nothing to do with suction.
App survival. A firmware update in the middle of a schedule. If the map resets, the no-go zones vanish, and the schedule disappears, you own a brick with a charging dock.
The unsupervised run. Would I let this thing clean a client's house while nobody is watching? That is the bar. Everything else is a feature list.
The two units I would set up first
One keeps the cost down and asks you to empty a bin. One costs more and asks you to forget the bin exists. Both will clean a real house if you follow the setup order below.
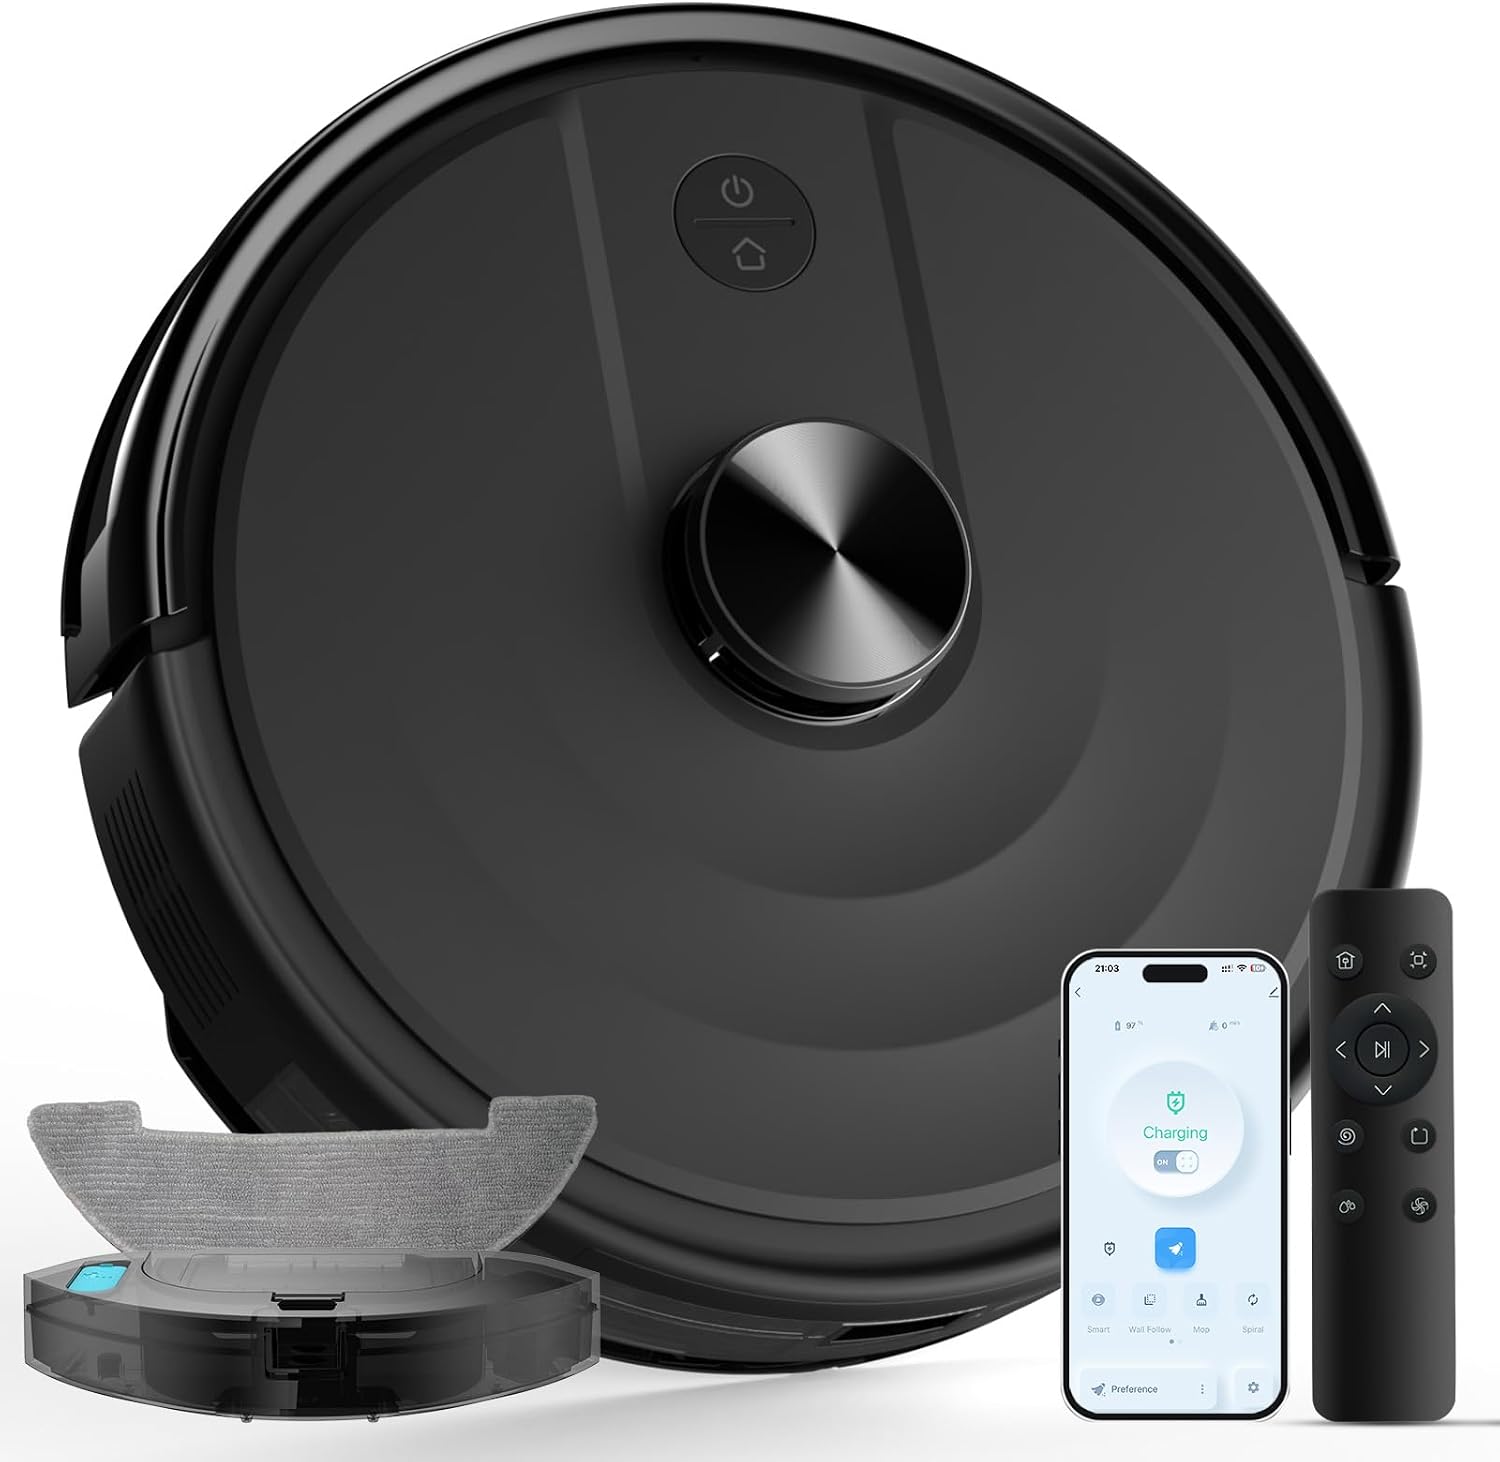
Budget pick: Bagotte Robot Vacuum and Mop Combo, 6000Pa Robotic Vacuums with Mapping, LiDAR Navigation, Auto-Recharging, 2.4G WiFi/App/Alexa/Remote Control for Pet Hair, Hard Floor, Carpet
 Visit on Amazon →
This is the unit I point people at when they want real mapping without paying for a self-emptying dock. LiDAR navigation means it builds an actual map instead of bouncing off furniture and calling it a plan, and the 6000Pa suction class is enough for pet hair on hard floor and low pile carpet. Auto-recharging means it returns to the dock when the battery drops and picks up where it left off, which matters in anything bigger than one room.
It works with 2.4G WiFi, the app, Alexa, and the included remote, so there is no app-or-nothing situation for the person in the house who hates apps. That sounds trivial until you live with someone who will not install anything.
What you give up is the dock. There is no self-empty base here, so the bin is a daily habit, and the mop side is a pad rather than a scrubber. It will lift a light film off tile and sealed concrete. It will not fix a sticky spill, and you should not expect it to. Run it as a vacuum first and treat the mop as a bonus.
Flaws but not dealbreakers: 2.4G WiFi only. If your router splits bands and the robot will not join, set up a dedicated 2.4G network for it, then it behaves.
Anyone in an apartment or a single floor home who wants mapping without a dock footprint in the hallway will be happy here.
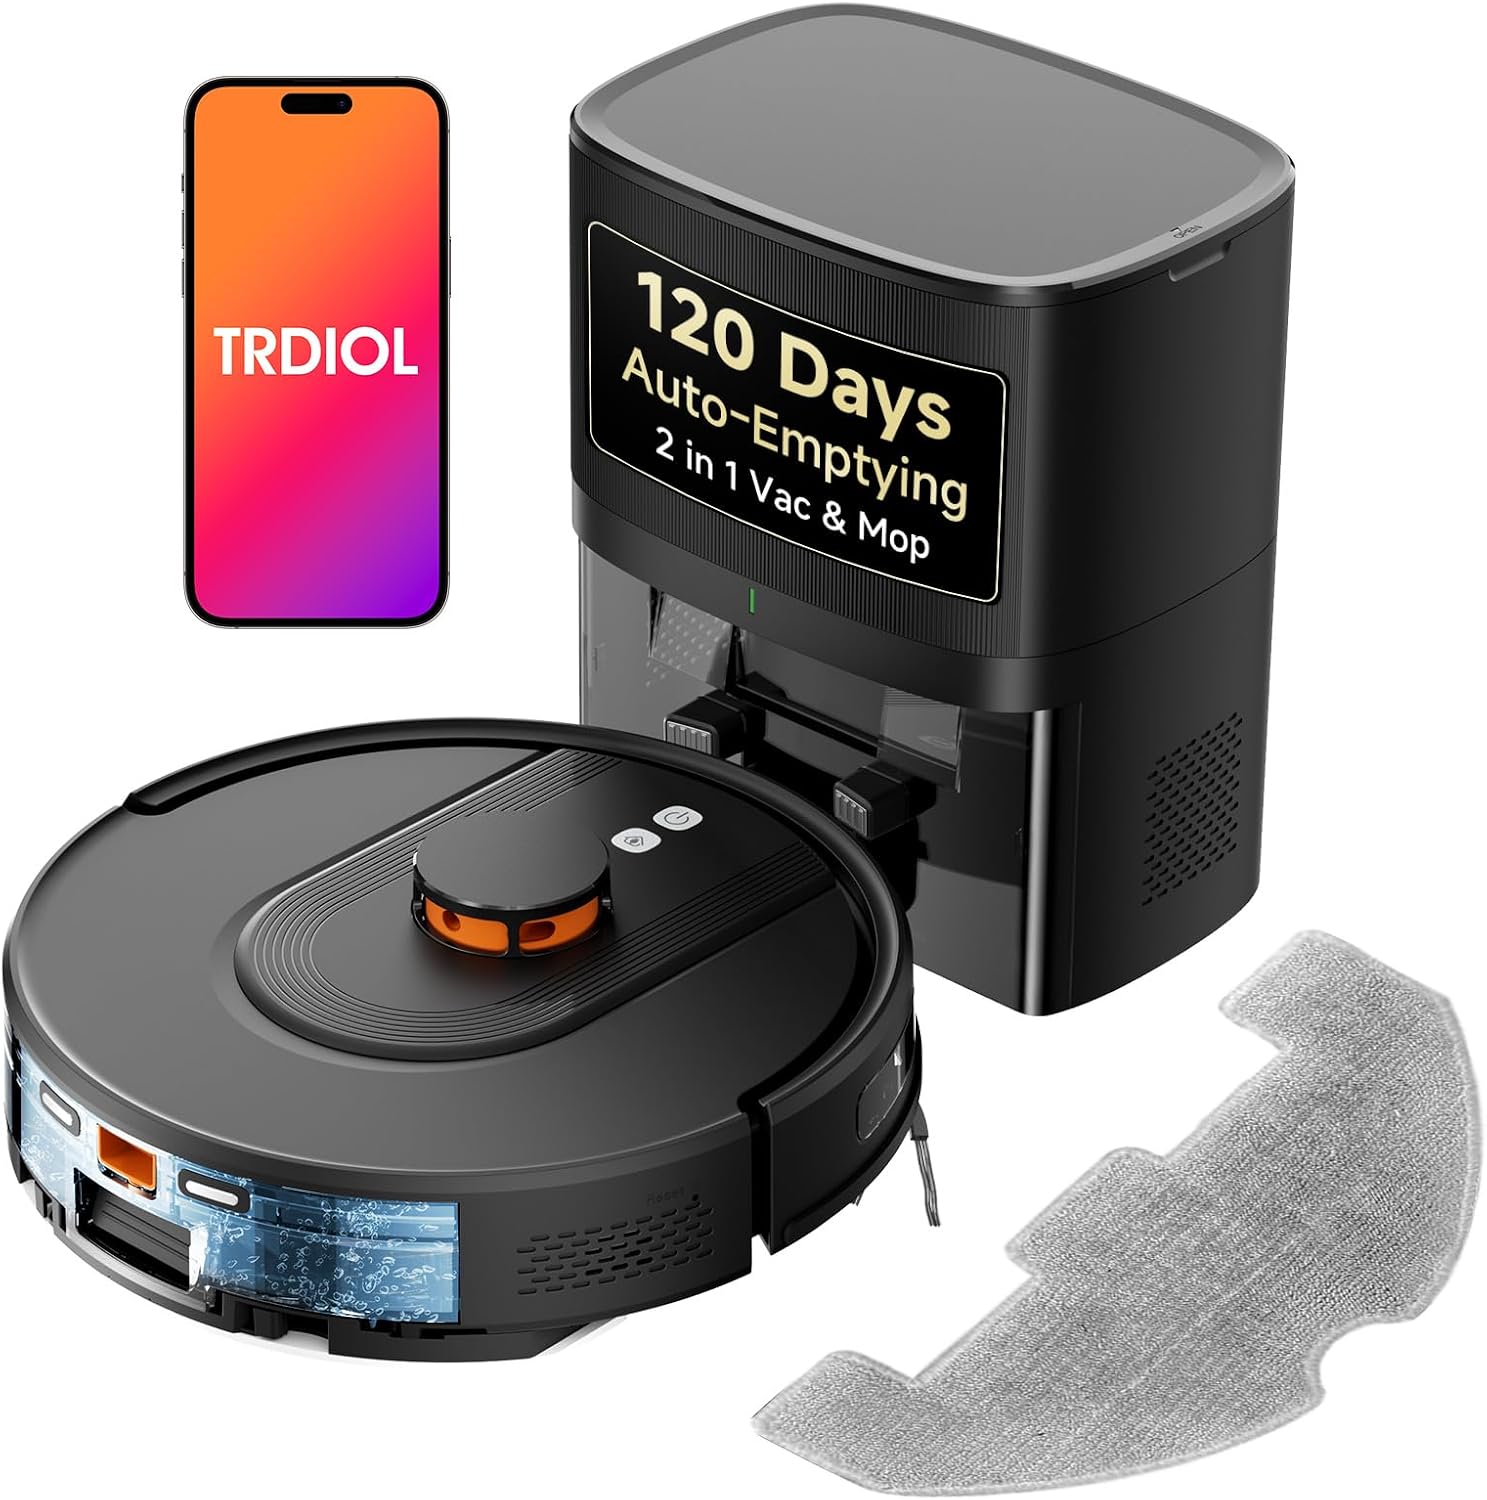
Our pick: Robot Vacuum and Mop, 120-Day Self-Emptying with 6000Pa Suction, LiDAR Navigation & Smart Mapping & No-Go Zones, Anti-Tangle, for Pet Hair, Carpets and Hard Floor
 Visit on Amazon →
Self-emptying is a luxury until you have pets, and then it is survival. This unit docks, pulls its own bin into a sealed bag, and holds roughly 120 days of debris, which turns daily vacuuming into a schedule you genuinely forget about. Same 6000Pa suction class as the Bagotte, plus LiDAR navigation, smart mapping, and no-go zones, so the room by room control is there when you need it.
Anti-tangle is the spec I care about most in a pet house. Hair wrapped around a brush roll is what kills robots quietly, because the robot keeps running while the roll stops grabbing anything. A sealed bag matters for a different reason: you are not dumping a cloud of dust back into the air every morning, which is the part allergy sufferers notice first.
Flaws but not dealbreakers: The dock takes real floor space and it needs clearance to line up, and the bags are a recurring cost. Budget for bags the same way you budget for filters. If your hallway is narrow, measure before you commit.
Anyone with pets, a multi floor home with one central dock, or an honest failure mode of "I stopped emptying the bin" should look here first.
The setup order that actually works
Now the part you came for. Do these in order. Skipping step one is why most robots get returned.
Step one: Clear the floor before the first run. Get on your hands and knees in every room the robot can reach. Cords, socks, pet toys, bathroom mats, headphones, the cable for the phone charger that lives on the floor. The first mapping run is the one that teaches the robot where things are, and anything it finds, it will try to eat. Tuck cables under baseboards now, because the robot will find that cord again on run 40, not run one.
Step two: Choose the dock wall like you mean it. The dock needs a wall outlet, a couple of feet of clearance on both sides, and WiFi that actually reaches. Do not tuck it behind a couch or under a cabinet lip, because the robot has to line up with the dock to charge and a tight corner turns every return into a three point turn. A self-emptying dock needs more height for the bag chamber and more open floor in front of it.
Step three: Charge fully, then map supervised. Let it charge to full, then run the first pass while you are home. Do not schedule anything yet. Open the app and watch where the map looks wrong: mirrored rooms, a hallway that reads as part of the kitchen, a bathroom the robot never entered. Rename rooms now. Those names stick, and a map you trust is a map you will actually use.
Step four: Draw no-go zones and test them. Put zones around pet bowls, the tangle of cords under the desk, the spot where the toddler leaves small toys. Then deliberately walk the robot toward one of them and watch it stop. Zones that exist only in the app and never get tested are the ones that fail after a firmware update, so re-check them after every update, not just once.
Step five: Do the rug lip test before you trust it. Take the thickest rug in the house, the one with the half inch lip, and watch the robot try to climb it from the hard floor. If it stalls, drags the rug, or gives up and turns away, either set that rug as a no-go zone or accept that you will rescue the robot daily. A robot that cannot handle a rug transition cannot handle your house. No exceptions.
Step six: Set the schedule around your day, not the robot's. Vacuum in the morning before you leave so the floor is clear and nobody is walking around. Run the mop in the evening after dinner and after the kitchen floor is picked up. In a house with pets, twice a day during shedding season is not excessive. The schedule should run when the floor is empty, because a robot that spends its run avoiding shoes does not clean anything.
Step seven: Match suction and water to the room. High suction on carpet, medium on hard floor, low or no water on wood. Water on hardwood is the fastest way to ruin a finish, and a combo unit set to one global mop level will do exactly that. Set the water level per room, not once for the whole map.
Step eight: Build the maintenance habit in the same week. Empty the bin after every run if the unit is not self-emptying. Rinse the mop pad after every mop cycle, tap out the filter weekly, cut hair off the brush roll monthly, and wipe the sensors and the charging contacts with a dry cloth. Habits built in week one survive. Habits promised for later do not.
Step nine: Connect the voice assistant last. Alexa and app control are convenience, not setup. Do the map, the zones, and the schedule first, then name the robot something you can say out loud without laughing. A robot named "Robot Vacuum Two" gets used less than one named something your household will actually say.
Common setup mistakes I fix on job sites
The first run happens before the map is clean, so the robot learns a house full of clutter and cleans around it forever.
Cords stay on the floor, and then the robot "eats cables." It did not eat anything. You left a buffet out.
No-go zones get drawn once and never tested, then a firmware update wipes them and the robot finds the pet bowl.
The mop runs with water on hardwood, and the finish pays for it.
The filter becomes a felt brick because nobody taps it out, and suction quietly drops for months before anyone notices.
The bin is skipped for a week on a non self-emptying unit, and the robot starts spreading dust instead of collecting it.
Every one of those is a setup problem, not a hardware problem.
What this actually costs you
The purchase price is the small number. The real cost is attention, and it is small too if you set it up right. Thirty seconds a day to empty a bin on the non self-emptying unit. Five minutes a week for the filter, the pad, and a look at the brush roll. A monthly wipe down of the dock and the sensors.
Then there are consumables: bags for a self-emptying dock, replacement filters, extra mop pads. Those are recurring, and they are the trade you make for not touching a bin every morning. Prices on all of it move around with sales, so check the current Amazon price on the listing rather than trusting a number you saw last month.
Compared to a weekly house cleaning service, the math is not close. Compared to doing nothing, the difference is a floor that stays at 80 percent instead of dropping to 40 by Thursday.
The short version
Clear the floor, place the dock with real clearance, charge fully, map supervised, test your no-go zones, test the thickest rug, schedule around your day, set water levels per room, and build the bin and filter habit in week one.
Pick the Bagotte combo if you want mapping and app control without a dock in the hallway and you will actually empty the bin. Pick the 120-day self-emptying unit if you have pets or you know, honestly, that you will not. Either one runs every day without you thinking about it, which is the only thing that matters.
That is the job. Run it daily and let the robot handle the 80 percent.