
Most robot vacuums do not fail because they lack suction. They fail because somebody unboxed one, tapped a button, and turned it loose in a house full of charging cords, rug lips, and a dog bowl that moves three times a day. A robot vacuum and mop combo is a maintenance tool, not a maid. Set it up properly in the first hour and it holds your floors at 80% so you only handle the last 20%.
I have cleaned homes professionally for nine years, and I now run a five person team that services more than 40 houses a week. I have watched robots die in every floor plan you can imagine: 4,000 square foot houses with three rug transitions in one hallway, 600 square foot apartments with two cats and a litter trail, rentals where the charging cord runs across the exact path the robot prefers to take.
What follows is the setup routine I run before any unit gets a schedule in a client home. It takes about an hour, and most of that hour is you walking the floor with your eyes at robot height. Do it once and you will spend the next year emptying a bin instead of fishing a stuck machine out from under a couch.
Why you should trust me
My job is not reviewing robots. My job is showing up at a house at 8 a.m. and finding out whether the machine that ran overnight actually did anything. I keep a drawer of units that looked promising on a showroom floor and failed on a job site, and I add to it more often than I would like.
Every robot I recommend gets a full month in real homes first, not a weekend on my kitchen tile. I run them on the worst floors I have access to: the hallway with the 0.5 inch rug lip, the house with a cord behind the couch, the apartment with a shedding dog and a cat. The metric I care about is what I call the mess index, which is simply what is left in the dustbin after a scheduled run. A bin full of real dust and hair means the machine is doing the job. A bin full of fluff and one shoelace means it spent 40 minutes lost.
I also have a bias you should know about up front. I do not believe in set and forget. Every robot needs a bin-emptying habit, a brush roll check, and a filter that gets replaced on schedule. If you are not willing to do three minutes of maintenance a day, no robot on this page will make you happy.
How I picked and how I tested
This is a how-to guide, not a shootout, so I picked two units that cover the two situations I run into most often in client homes. One is a suction-forward combo that handles mixed carpet and hard floor on a main level. The other is a slim, quiet unit that fits under low furniture and works in apartments where noise matters and rugs are minimal.
My standing test protocol looks like this. Every unit runs a full month, on a daily schedule, in at least two homes. I put it on my test rug with the half inch lip and watch whether it climbs or gives up. I run it near a loose cord to see whether obstacle avoidance is real or marketing. In homes with dogs, it does not get trusted unsupervised until it has been watched around a pet waste scenario. And I check the app after every firmware update, because a schedule that survives a month and then resets itself is worse than no schedule at all.
The specs I actually use to separate these two units are simple. Suction rating tells you how much dirt comes up out of carpet. Obstacle avoidance tells you whether you can run it while you are not home. Height tells you what furniture it can get under. And the app tells you whether you will still be using the schedule in March.
The two units I would start with
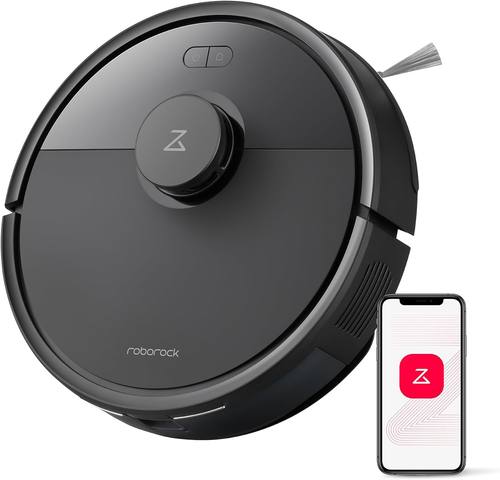
Our pick: roborock Q7 L5 Robot Vacuum and Mop Combo, 8,000Pa Suction
 Visit on Amazon →
This is the one I would hand to a homeowner with a mix of carpet and hard floor and a normal amount of hair in the house. The 8,000Pa suction rating is the number that matters here, because carpet is where cheap robots get exposed. On hard floor almost anything works. On a low pile rug with a week of dust in it, suction is the difference between a pass and a second pass with your upright.
It is a vacuum and mop combo, which means the mop side is a maintenance wipe, not a deep clean. That is exactly how I want it. A damp pad that goes over a floor you already vacuumed is useful. A machine that tries to scrub is a machine you will be repairing.
Flaws but not dealbreakers: Combo mopping means you still own a real mop for spills and sticky spots. If you expect the pad to handle dried juice on a kitchen floor, you will be disappointed. It also means you need to remember to swap or rinse the pad, which is one more step in the daily habit.
Anyone with a main floor that is mostly carpet with some hard floor, and at least one shedding pet or human, should start here.
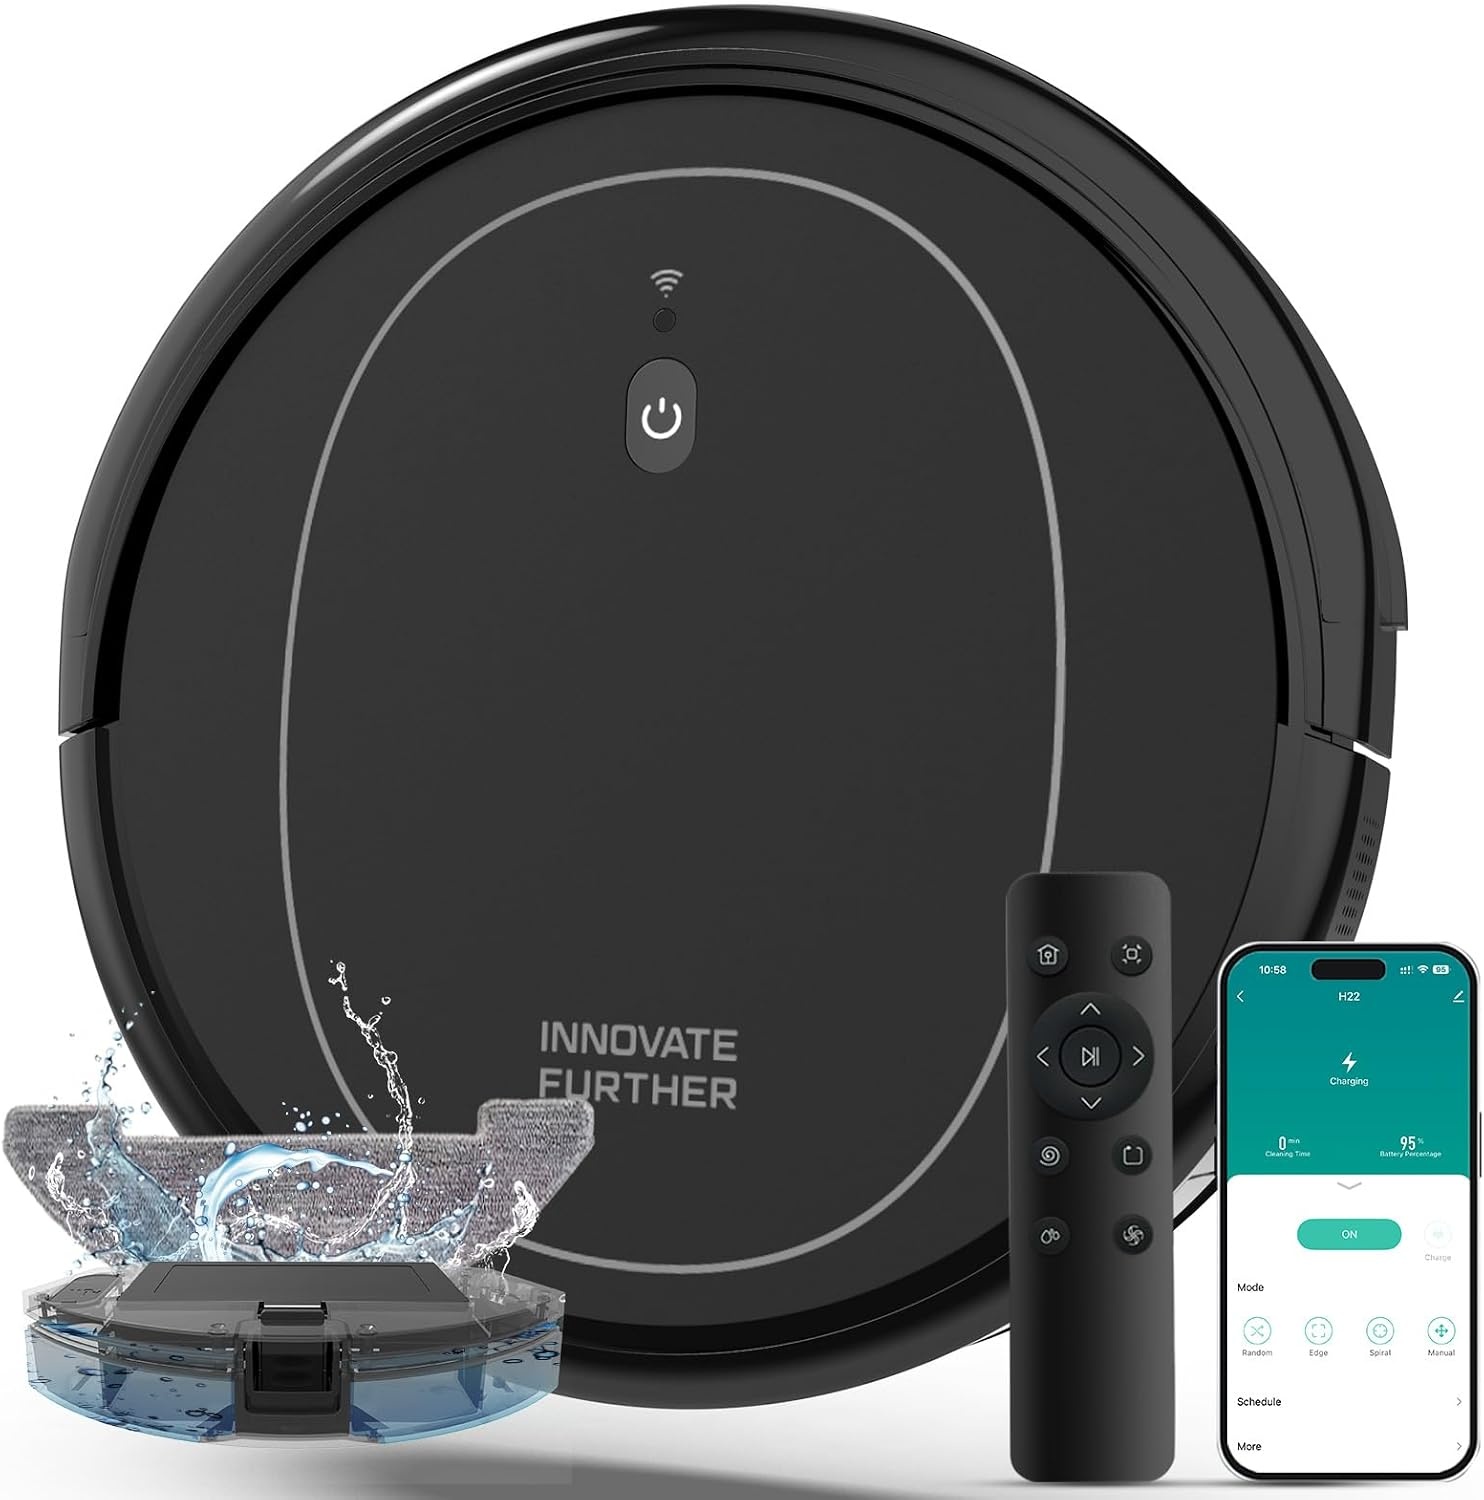
Runner-up: Robot Vacuum and Mop Combo, 5000Pa Self-Charging Robotic Vacuum Cleaner with Smart Obstacle Avoidance, 3-in-1 Robot Vacuum with Alexa & App Control, Quiet, Slim, Ideal for Pet Hair, Carpet and Floors
 Visit on Amazon →
This is the apartment and small home pick. The 5000Pa rating is lower, and on a thick rug you will notice it, but on hard floor with area rugs this class of machine does real work. The slim body is the feature I care about most, because the furniture that hides the most dust is the furniture with the lowest clearance. Slim units get under the couch and the bed skirt line where a taller robot simply cannot reach.
The 3-in-1 framing covers vacuum, mop, and the self-charging return, and the Alexa and app control is what makes the schedule usable. Obstacle avoidance is listed here, and I treat that claim the way I treat every obstacle avoidance claim: as a reason to test, not a reason to relax. It is the feature that lets you run the robot while you are out, but only after you have watched it handle your specific floor.
Flaws but not dealbreakers: Quiet mode is genuinely quieter, and quieter usually means less suction. If your floors are mostly carpet, do not buy this unit for the noise rating. And slim bodies can wedge into gaps a taller robot would never enter, so check the space under your lowest furniture before you schedule a run.
Anyone in an apartment or a smaller home with hard floors, one area rug, and neighbors below who will hear every bump should look here first.
The setup workflow, step by step
Step one: clear the floor at robot height. Get down on the floor, or at least crouch to the height of the machine, and look. Charging cords, headphones, socks, pet bowls, curtain hems, and the cord for the floor lamp are the things that end runs. A robot that eats a charging cord can damage the cord and the brush roll at the same time. This step takes ten minutes and prevents most of the frustration people blame on the robot.
Step two: find your rug transitions and test the worst one. Every home has one spot where a rug meets hard floor with a lip. Walk the robot to that spot by hand and let it try. If it climbs, you can schedule runs across that boundary. If it folds the corner and stalls, you have two choices: tape or a rug gripper to flatten the lip, or a no-go zone drawn in the app. Do not skip this. If it cannot handle a rug transition, it cannot handle your house.
Step three: run it once with the app open and watch. This is the mapping run, but treat it as reconnaissance, not setup. Watch where it hesitates, where it circles, and where it gets stuck. Then draw your no-go zones based on what you saw. A map you draw from memory will be wrong in exactly the two places that matter.
Step four: set suction and mode by surface. High suction for carpet zones, a lower or quiet setting for hard floor and nighttime runs. If you live above someone, this is the setting that decides whether you can run the robot at 7 a.m.
Step five: set up the mop pad correctly. Damp, not dripping. A soaked pad leaves streaks and can push water toward baseboards and floor gaps. Test the pad on one small area of hard floor first, and let it dry before you walk on it.
Step six: build the schedule around an empty house. One run per zone, daily if you can manage it. The best robot is the one that runs every day without you thinking about it, and daily runs mean less debris per run, which means fewer stuck brush rolls.
Step seven: place the dock like it matters. Against a wall, on a hard surface if possible, with clearance on both sides, away from cords, and in a spot with a decent Wi-Fi signal. A dock in a dead zone turns a smart schedule into a machine that sits there blinking.
Step eight: do the pet waste test before you trust it unsupervised. If you have a dog or a cat, run the robot while you are home for the first two weeks. Obstacle avoidance helps, but I have seen it fail, and a failed pass over pet waste is a cleanup job you will remember. This is not optional in a pet home.
The daily habit that decides whether any of this works
Empty the bin after every run. Not every other run, every run. That is the whole secret. A bin that is a third full does not pull as well on the next pass, and a full bin is how you end up with dust trails along the baseboards.
Once a week, flip the robot over and clear the brush roll. Hair wraps around it, and a wrapped brush roll loses suction and edge cleaning without giving you any warning. Once a month, check the filter and the edge brush. If the filter is gray and matted, replace it. If the side brush is bent sideways, straighten it or replace it.
That is roughly three minutes a day and fifteen minutes a month. Compare that to 45 minutes with a broom and an upright, and the math is not close.
What goes wrong in the first month, and the fix
No-go zones that reset after an app update. Redraw them, then check the map after every update for a week.
The robot rediscovering the house on every run. That usually means the dock moved, or the Wi-Fi dropped during a mapping run. Put the dock back, remap once, and leave it alone.
Cords eaten anyway. Even good obstacle avoidance struggles with thin black cables on dark flooring. Move the cable, or put it in a cable channel.
Edge cleaning that leaves a strip along the baseboards. Most robots leave a one inch strip you will still need to hit with a vacuum tool. Budget for it instead of fighting it.
The mop pad smearing instead of cleaning. If the pad is soaked or the floor is sticky, the combo mop makes it worse. Vacuum first, mop second, and keep the pad damp.
Why I left other categories out of this guide
Self-emptying docks are the one upgrade I genuinely miss when I do not have one. They turn daily bin emptying into a weekly chore, and in a pet home that is close to survival. But they belong in a guide about docks, not in a setup guide, because the setup steps above do not change.
Premium units with the most advanced navigation are a different conversation too. More sensors mean more capability and more that can go wrong, and the person reading a setup guide usually wants a machine that runs every day without drama.
Dedicated mops that only mop, and handheld vacuums for stairs and cars, are both useful, and both solve a problem this guide does not cover. Combo units are a compromise, and they are the right compromise for most homes.
What this really costs you, in minutes
Setup is about an hour the first time, most of it spent on your hands and knees looking for cords. After that, the running cost is three minutes a day for the bin and fifteen minutes a month for the brush roll and filter. Both units here sit at a value tier, so check the current price on each before you decide, and remember that a cheaper robot you actually maintain beats an expensive one you ignore.
The robot is not the hard part. The habit is. Get the floor clear, test the rug lip, draw the zones, and then let the machine do the boring work every single day while you handle the corners.