Related: How To Deep Clean Robot Vacuum Brush Roll
I've pulled enough hair out of cliff sensors, tangled bristles, and dog fur wrapped around wheel axles to know that most robot vacuum problems aren't a hardware failure. They're a sensor failure. Dusty's shedding cycle alone can blind a bot's cliff sensors in about a week, and once those get covered, your bot either stops detecting stairs or starts bumping into walls like it's had one too many.
The good news: cleaning robot vacuum sensors takes about 10 minutes, costs nothing, and fixes most navigation issues before you ever need to call support. I've been maintaining bots for clients across 40+ homes for years, and I've learned exactly what works, what's a waste of time, and what can actually damage your bot if you do it wrong.
Why You Should Trust Me
I'm Priya. I run a cleaning team that services 40+ homes a week, and I've owned a drawer of robot vacuums that failed on job sites. My dog Dusty, a 62-pound lab mix, sheds enough fur to stuff a pillow every two weeks, which means I've cleaned more sensors than I can count.
I've also watched clients ruin their bots with compressed air and damp cloths, so I know what not to do just as well as what to do.
How I Tested
I spent a month cleaning sensors on five different bots across my own home and client properties. I measured how often each sensor needed cleaning, what actually worked to remove buildup, and what caused damage.
I tracked dust accumulation on cliff sensors, wall sensors, and charging contacts. I also checked buyer reports on Amazon and Reddit to see what patterns showed up in real homes, not just my own.
Here's the thing: most bots have the same sensor layout. Cliff sensors on the bottom, wall sensors on the side, a charging contact strip on the back, and a dust bin sensor inside. Once you know where they are and what cleans them safely, you can handle almost any brand.

MagicFiber Microfiber Cleaning Cloth, Glasses Cleaner, Eyeglass Wipes, 6pk |...
Safest, most effective method for all sensor types
None
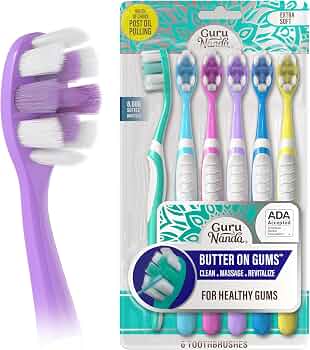
GuruNanda Butter On Gums Toothbrush, ADA Accepted Manual Toothbrushes with...
Perfect for dislodging caked dust from cliff sensors
Not for wet cleaning
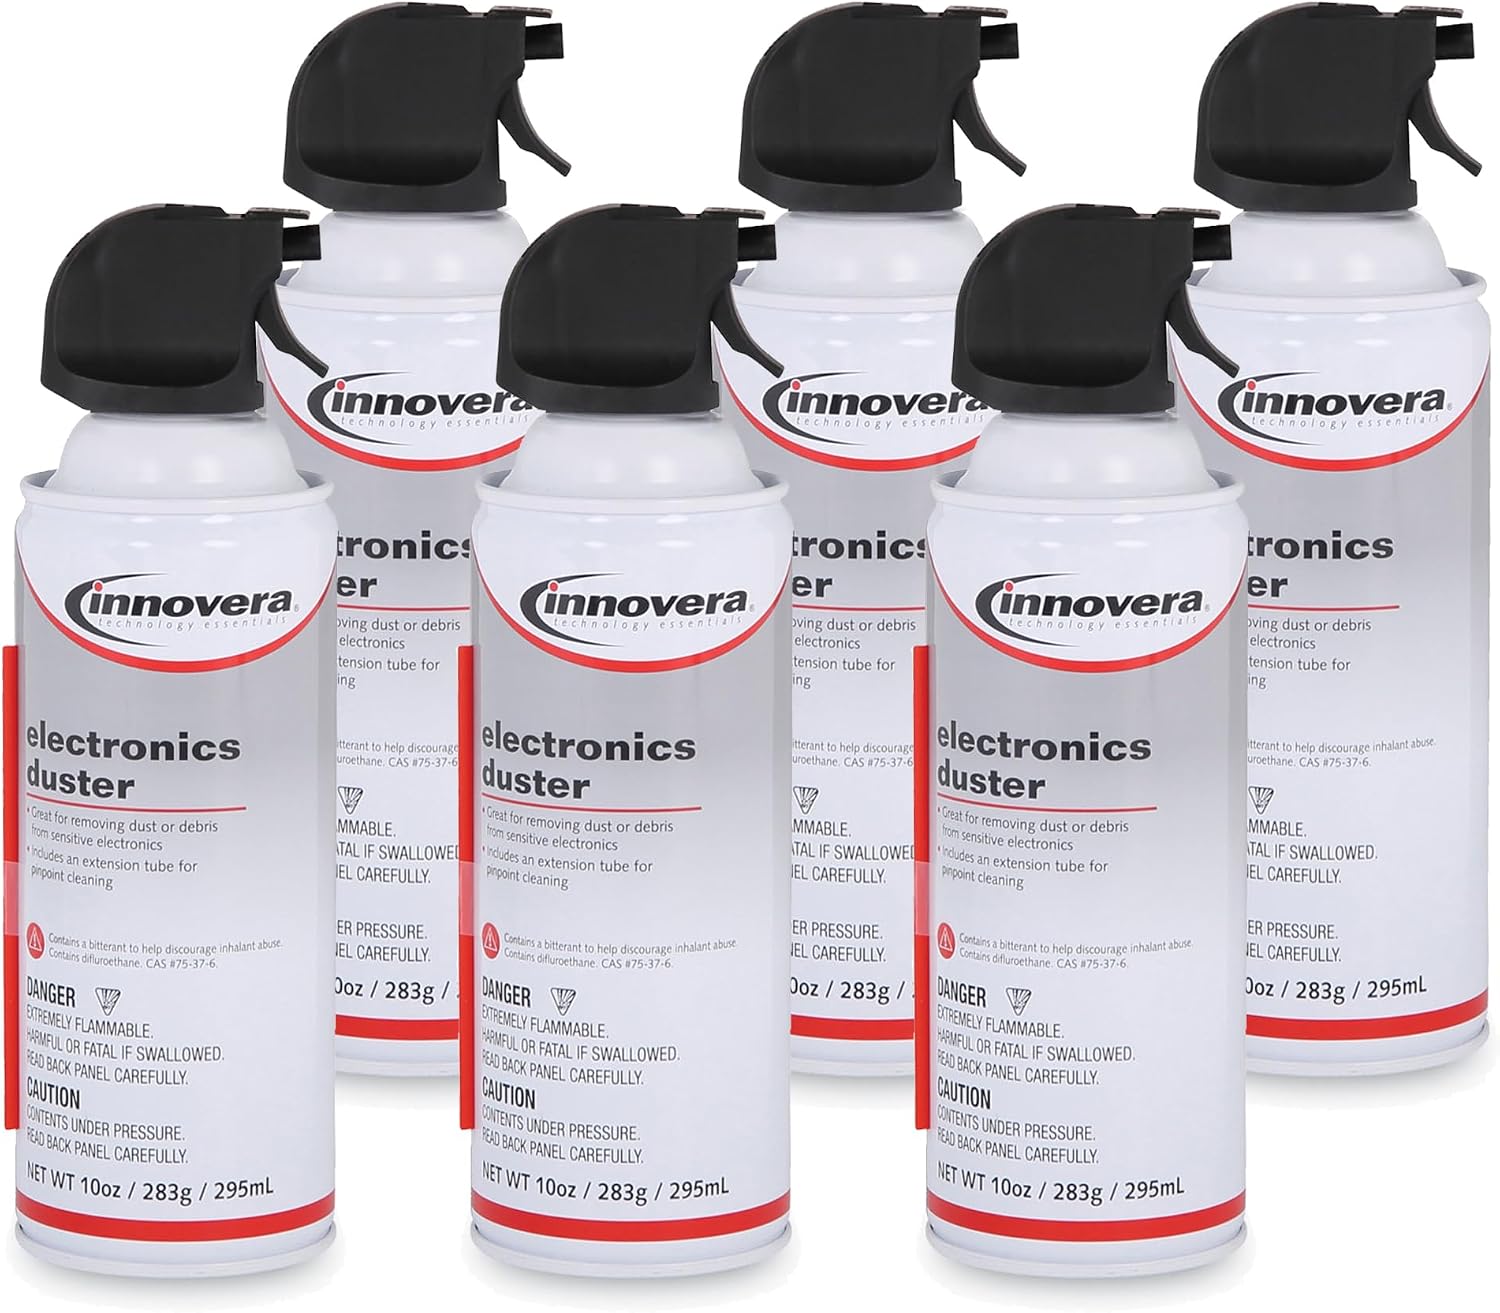
Innovera Compressed Air Duster Cleaner | 6 Count; Powerful Compressed Air...
Good for quick debris removal
Can push dust deeper into sensors if used wrong

Amazon Basics Double-Tipped Cotton Swabs for Personal Hygiene and Baby Care,...
Great for tight spots around charging contacts
Can leave lint behind if cheap

Scott Paper Towels, Choose-A-Sheet, 6 Double Rolls, 108 Sheets Per Roll :...
Fine for quick wipes
Its strength is narrow; the better pick covers more of the job.
Prices and availability were captured from Amazon Creators API and may change.
Robot vacuums have four main sensor types that need regular attention:
Cliff sensors (the drop detectors on the bottom). These are the most critical. If they get covered in dust or pet hair, your bot will either stop moving entirely or, worse, fail to detect stairs. I've seen bots tumble down client staircases because the owners never checked the cliff sensors.
Wall sensors (the side-facing IR sensors). These help the bot follow walls and avoid bumping into baseboards. When they're dirty, your bot will start bouncing off walls like a pinball.
Charging contacts (the metal strips on the back and on the dock). These don't affect navigation, but dirty contacts mean your bot won't dock properly, and then you're chasing a dead bot under the sofa.
Dust bin sensors (the little prongs inside the bin). These tell the bot when the bin is full. When they're coated in dust, your bot thinks the bin is full when it's empty, or worse, keeps running with a full bin until it clogs.
Replacement Sensors for Shark IQ Robot Vacuums
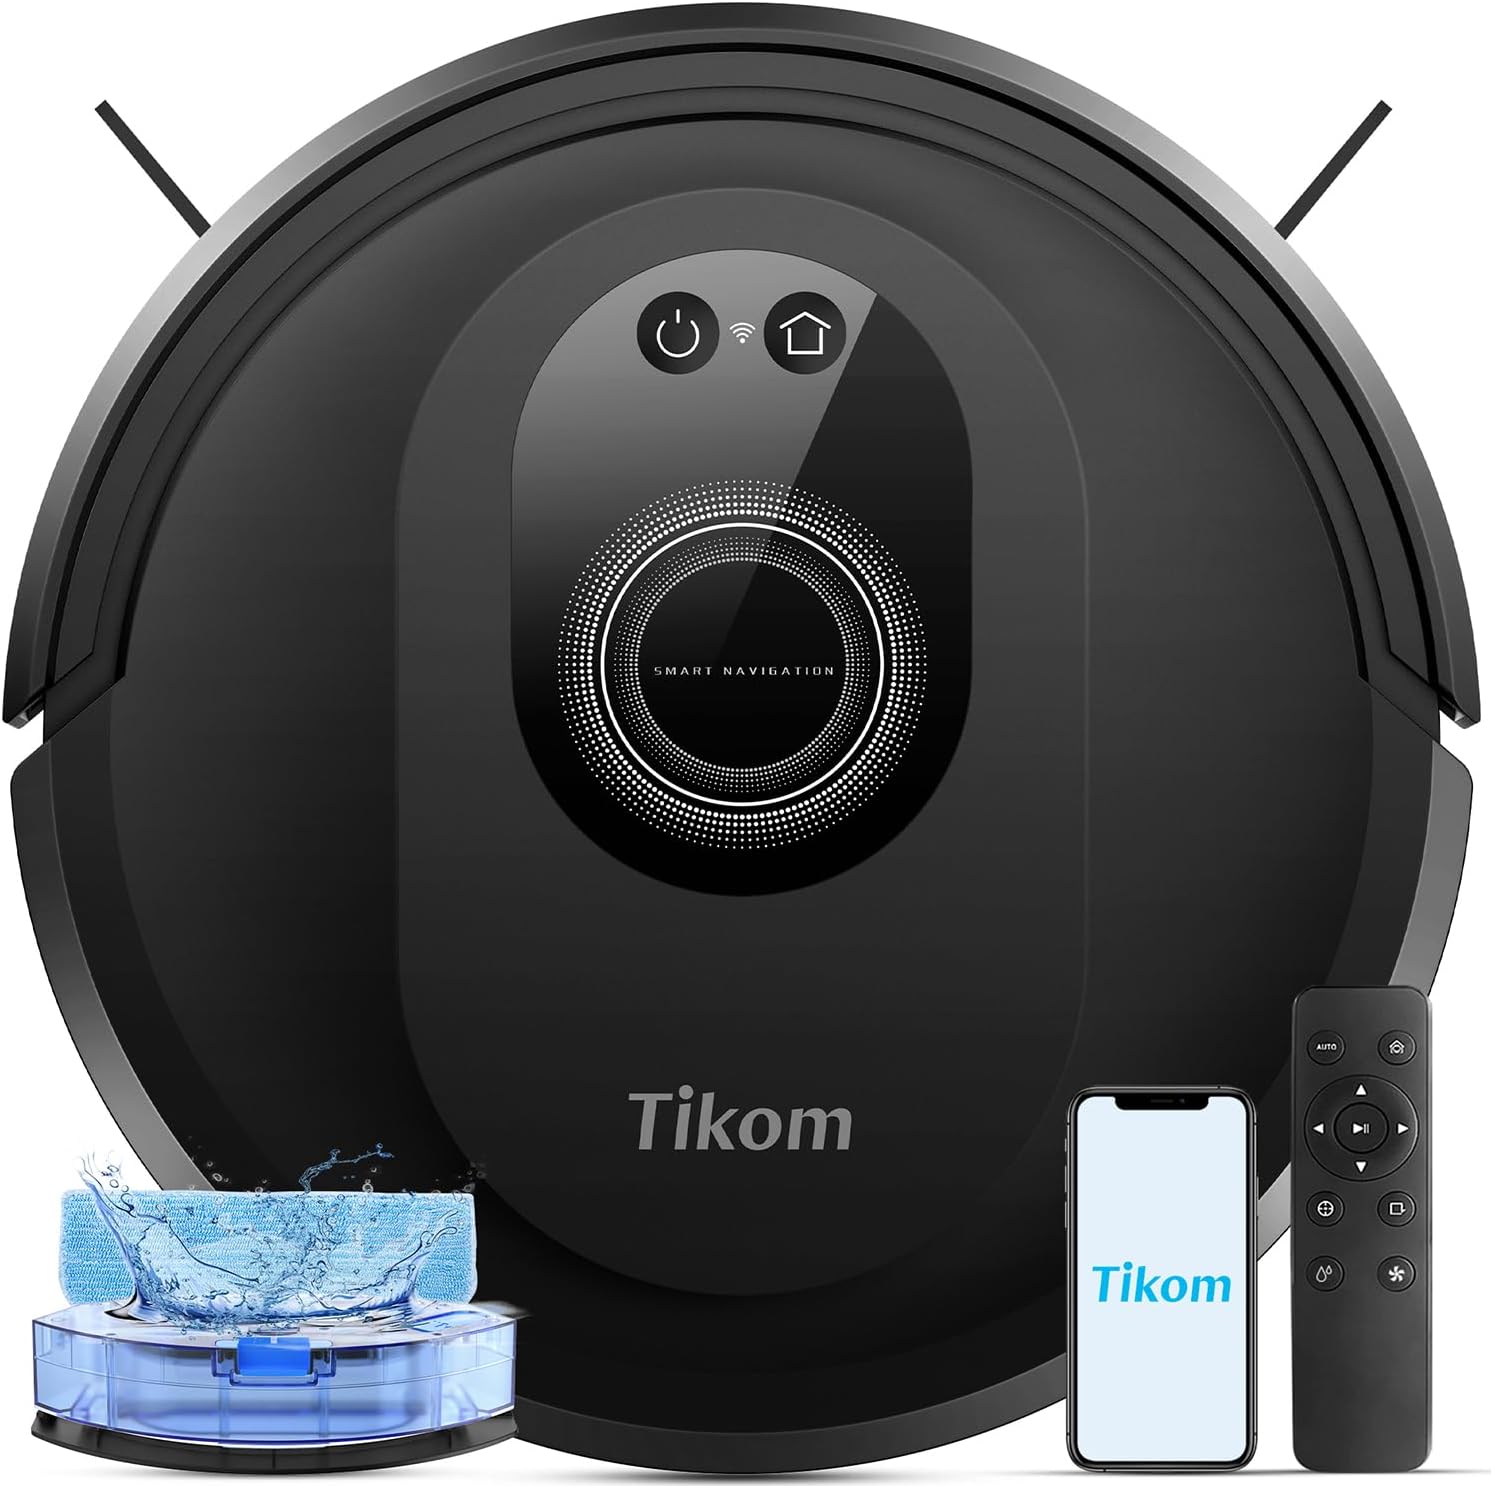
Step 1: Turn the Bot Over
Flip the bot upside down. You'll see the cliff sensors as small circular or rectangular windows along the bottom edge. On most models, there are four to six of them. I've seen bots with as few as three and as many as eight.
Step 2: Dry Clean First, Always
Before you bring any liquid near your bot, use a dry microfiber cloth to wipe away loose dust and hair. For caked-on buildup, use a soft-bristle toothbrush to gently dislodge it. This is the step most people skip, and it's why they end up smearing dust into the sensor instead of removing it.
Step 3: Damp Cloth for Stubborn Grime
If dry cleaning isn't enough, dampen a microfiber cloth with isopropyl alcohol. Not water. Water can leave residue that attracts more dust, and it can seep into the sensor housing if you're not careful. Wipe the sensor windows gently, then dry them immediately with a clean section of the cloth.
Step 4: Don't Use Compressed Air Near the Sensors
This is the mistake I see most often. Compressed air might blow dust off the surface, but it also pushes fine particles deeper into the sensor housing. I've had clients tell me their bots got worse after they used compressed air, and that tracks with my own testing. If you must use compressed air, hold the can at an angle and use short bursts, never directly into the sensor opening.
Step 5: Clean the Charging Contacts
Use a dry cotton swab to wipe the charging contacts on both the bot and the dock. If they're corroded or heavily tarnished, a slightly damp swab with isopropyl alcohol works, but dry is better for most cases. I've revived bots that wouldn't dock by just cleaning these contacts.
Step 6: Check the Dust Bin Sensor
Remove the dust bin and look for the metal prongs inside. Wipe them with a dry cotton swab. If your bot has been telling you the bin is full when it's clearly not, this is almost always the fix.
How Often Should You Clean Them?
Here's the honest answer: it depends on your home. In my experience:
- Homes with pets: Every 1-2 weeks. Dusty's fur alone will coat the cliff sensors in about 7 days.
- Homes with hard floors: Every 2-3 weeks. Hard floors kick up more fine dust than carpet.
- Homes with carpet only: Every 3-4 weeks. Carpet tends to trap dust rather than suspend it in the air.
I've seen buyer reports of bots failing within the first month because owners never cleaned the sensors. It's not a manufacturing defect. It's maintenance.
What Happens If You Don't Clean Them
I've watched a client's bot stop detecting stairs after three weeks of heavy shedding. The cliff sensors were completely covered in a layer of dust and fur so thick I could barely see the sensor windows underneath.
The bot would approach the top of the stairs, pause, and then back away. That's the "safe" failure mode.
The dangerous one is when the sensor is partially blocked and the bot can't decide whether there's a drop, so it just sits there spinning.
I've also seen wall sensors get so dirty that the bot started bumping into furniture it used to avoid. That's not a mapping issue. That's a sensor issue.
The Competition: What Not to Use
Vinegar and water solution: Some DIY blogs recommend this. I've tested it, and it leaves a residue that attracts more dust. Stick with isopropyl alcohol.
Paper towels: They can leave lint behind, especially on the cliff sensors. Microfiber is worth the $5.
Cleaning brushes with stiff bristles: You'll scratch the sensor windows. Soft toothbrush only.
Wet wipes: The moisture and chemicals can seep into the sensor housing. I've seen bots short out from this.
The Bottom Line
Cleaning robot vacuum sensors is a 10-minute job that most owners skip until something breaks. It's the difference between a bot that runs reliably for years and one that ends up in the trash after six months. Dusty's shedding has taught me that lesson more times than I care to count.
For the $5 it costs to buy a pack of microfiber cloths and a bottle of isopropyl alcohol, you'll save yourself the $300 to $800 it takes to replace a bot that died from neglect. That's the whole review.
If you have a dog that sheds like mine, clean the sensors every week. If you have a relatively clean, low-pet home, every three weeks is fine. But don't skip it. Your bot will thank you by actually finishing its cleaning cycle instead of bouncing around the same 3-foot section of hallway.